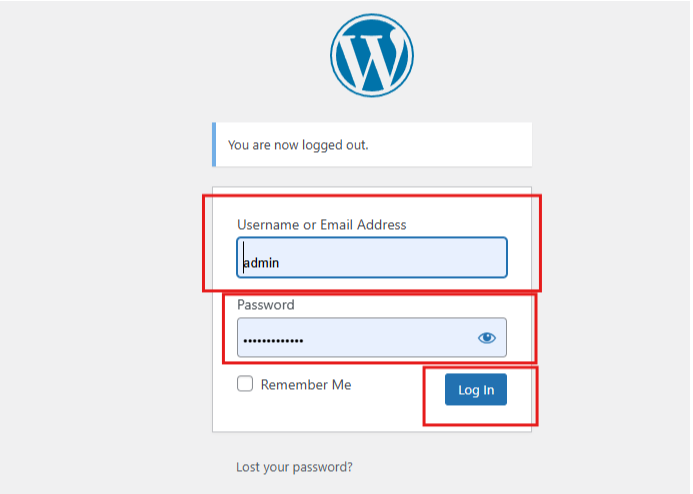
Step – 1 Log In to Your WordPress Dashboard:
Go to your website and log in with your admin credentials.
Step – 2 Navigate to Posts:
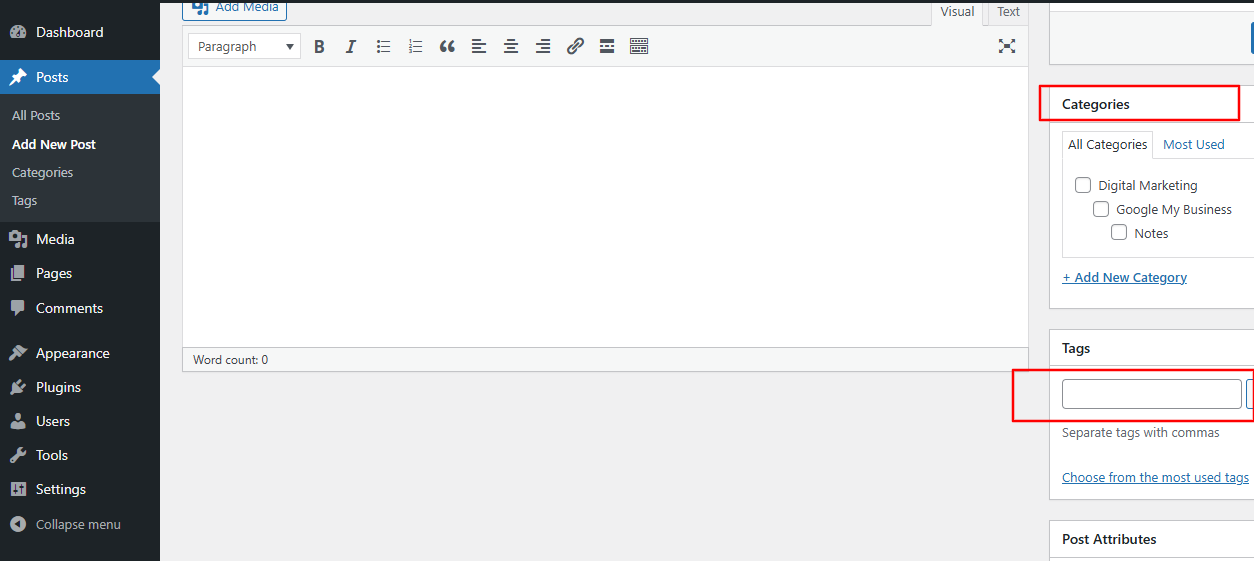
On the left-hand menu, click on “Posts.”

Step – 3 Select Categories:
Under the “Posts” menu, you’ll see an option for “Categories.” Click on it.
Step – 4 Add a New Category:
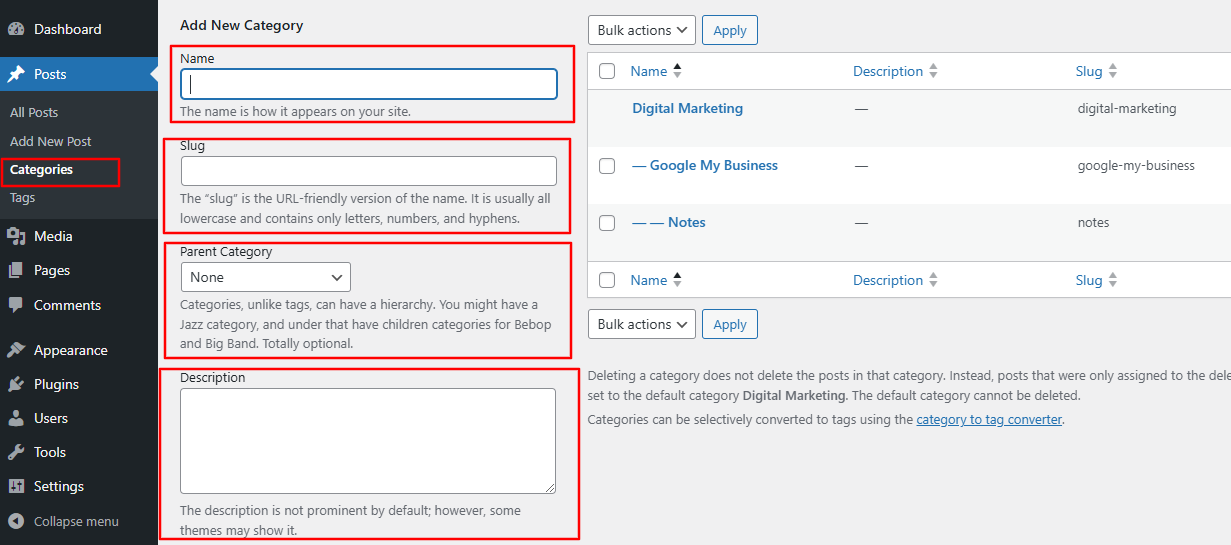
- Name: Enter the name of your new category in the “Name” field.
- Slug: This is the URL-friendly version of the name. It’s optional but can help with SEO.
- Parent Category: If you want to create a subcategory, you can select a parent category from the dropdown menu.
- Description: You can add a description for the category, which may help with SEO and user understanding (this is optional).
Step – 5 Click “Add New Category”:
Once you’ve filled out the necessary information, click the “Add New Category” button.

Step – 6 Assign Categories to Posts:
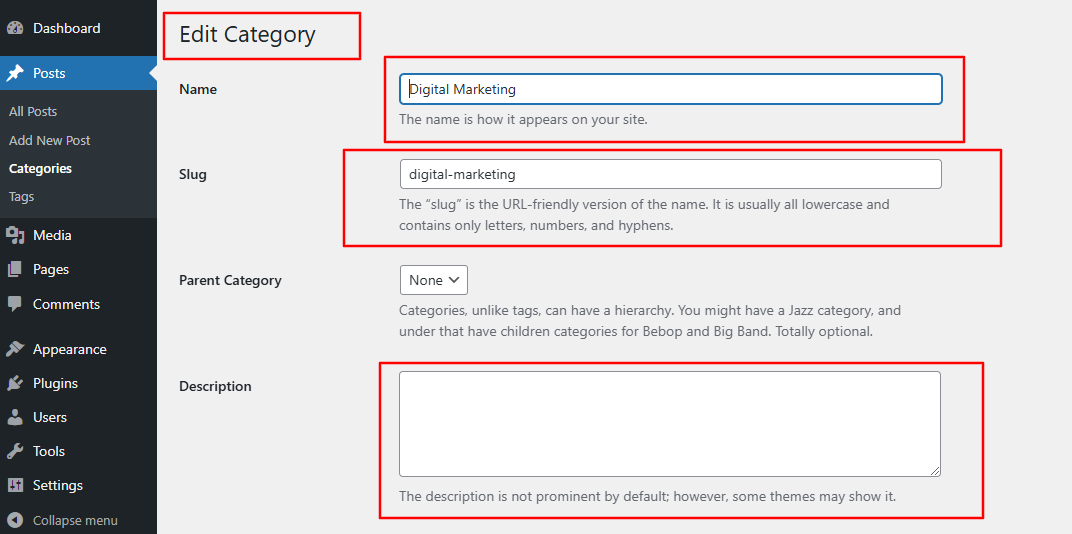
When creating or editing a post, you can assign it to one or more categories by checking the boxes next to the categories you want to use in the “Categories” section on the right side of the post editor.
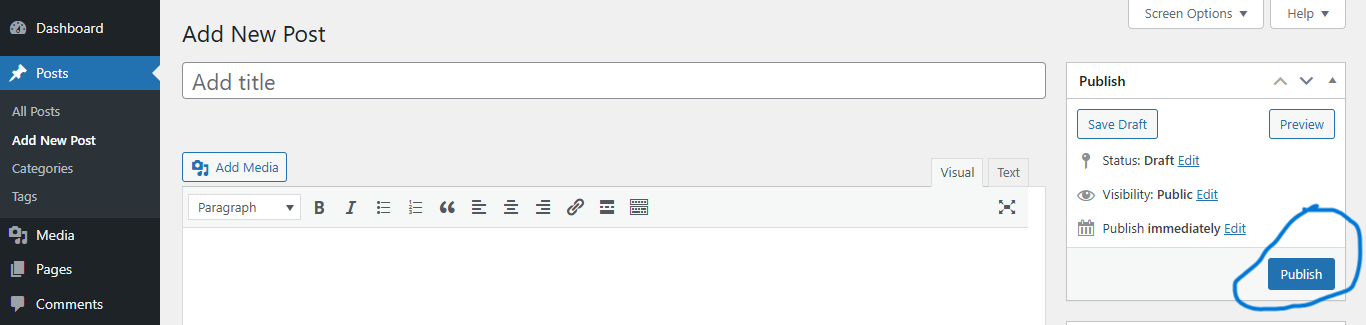
Step – 7 Save or Publish Your Post:
After assigning categories, make sure to save or publish your post.
That’s it! You’ve successfully created a category in WordPress.
Free downloads
Found this useful? Get our free cheatsheets
SEO cheatsheet, Google Business checklist and a full course guide. Enter your WhatsApp number to download them instantly.